Showing posts with label favors. Show all posts

Monday, December 19, 2011

Barista Banter: Christmas gifts/Party Favors for $0.87 each!


I love on a cold winter day snuggling up with some hot chocolate to watch the snow fall. Now NORMALLY this time of year we have plenty of snow up in North Idaho but this year...we've got nothing. Zero. Zip. Nada. The weather reports Christmas day being in the 60's and although I LOVE me some warm weather this is just so....WEIRD!! Not a white Christmas this year?! Boo Hiss.

Any who back to the hot chocolate yummyness.
 Some of you might know this but my husband is the middle school youth pastor at our church- not to say we aren't blessed beyond our needs but it isn't really like we are "rolling in the dough" if you know what I mean. So when he asked me to come up with 60 party favors for less than $1 a person for the church Christmas party I was completely on board.

 In my head things like this are a game, a challenge, a quest to be conquered- you get the picture. I had seen some hot cocoa giveaway jars but my budget would be blown by the cost of mason jars and then there were some other ones made of condiment carriers but those looked too cheap (sorry if I just offended anyone....) Finally I came up with these goodies.

 The cost ended up being .87 per person and they were a big hit at the party-None left!

 Here is a step by step to get your neighbors or friends a little something without breaking the bank.

1. First you essentially make a huge assembly line.
I did the first twenty one by one and believe me it's MUCH faster going assembly line style.

 2. Take 3/4 cup of your hot cocoa mix, and start the first layer in a clear treat bag or cello bag.
 I didn't do anything fancy just Swiss Miss from Wal Mart at $5.46 a can
 and this made about 15 goodie bags.

3.Then layer a healthy handful or two of marshmallows.
There is no "set amount" to this- let the heart run wild (is that even how you  USE that phrase?!?).  
I stopped after two handfuls aka when there were equal parts of hot cocoa mix to mellows.

4. Then you simply tie the bags with curling ribbon.
Pull hard so the marshmallows don't dry out and get crunchy.

5. Curl the ribbon and tie a candy cane to spruce it up.
 I ran out of the clear bags so I had to improvise and use these cookie treat bags I had on-hand from last Christmas.
 Goes to show when I tell my husband I PROMISE I will use those someday- don't throw them out...I really will!
HA jokes on him! (Again...is that the right usage?! Stinkin idioms...get me every time)
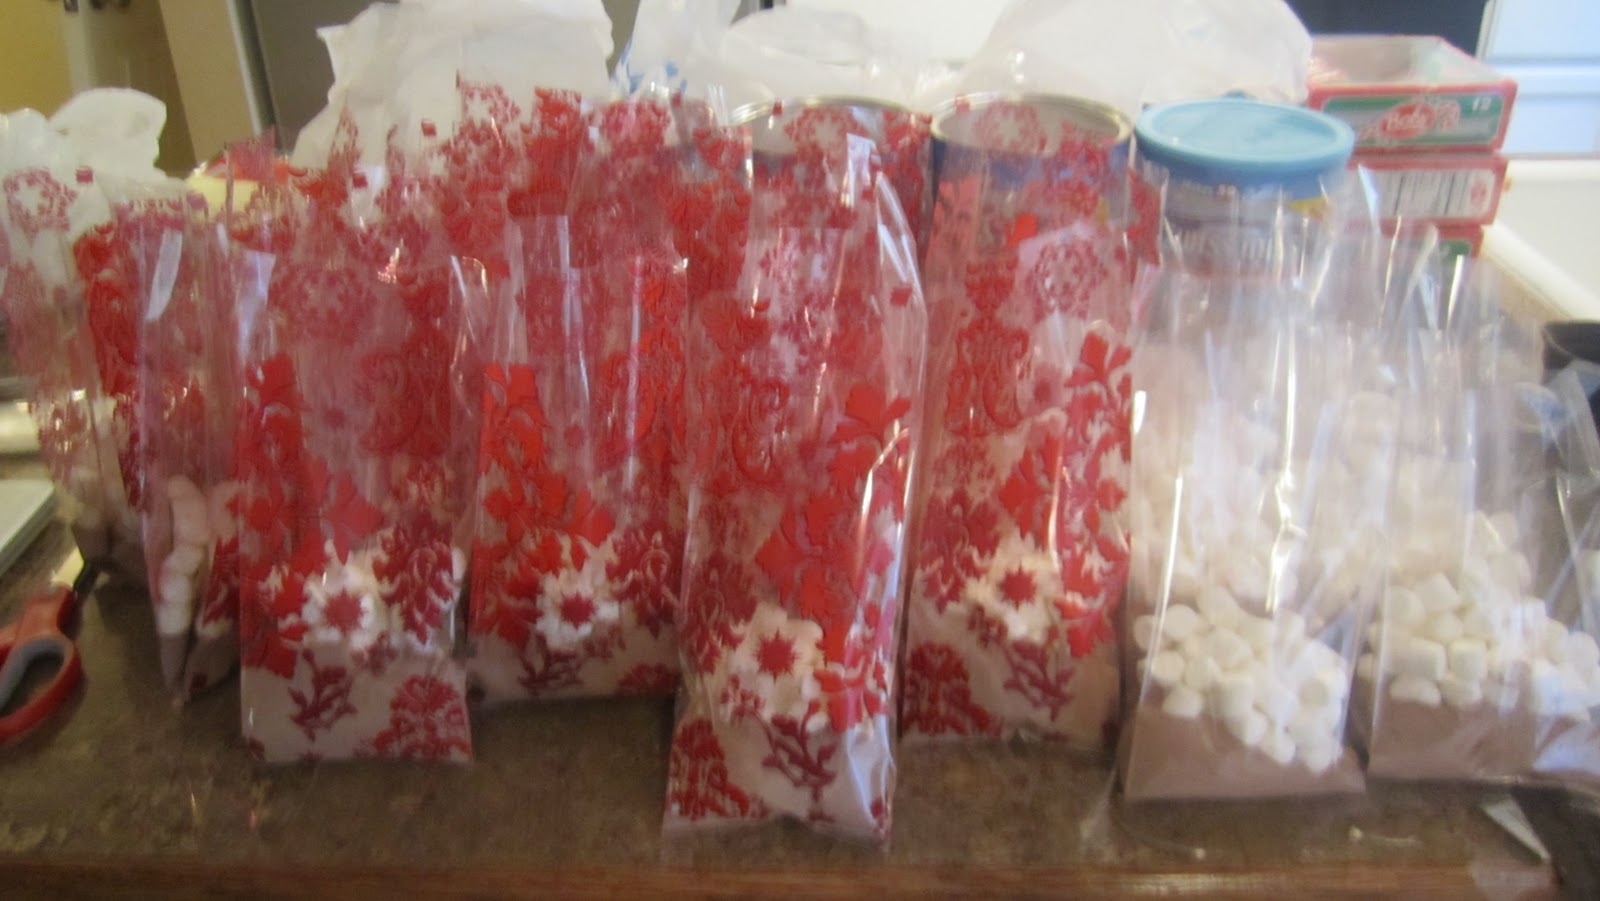

Then take pictures of your hard work and show your hubby your craftiness and frugality without trying to gloat. Believe me...it's harder than it seems!

Monday, November 14, 2011

Sips Launch Party: Chocolate Stirring Spoons


Happy Monday! 

Hope your weekends were restful, productive, fun, or whatever you were expecting them to be, and more. (Adam's and mine was a mixture of productive and fun--not a lot of resting involved, but there's always next weekend for that.) Did you get around to trying out the Sam Adam's Winter Variety Pack or the Pumpkin Chai "Martini"? What did you think?

This week we have a few more details to share with you from our Launch Party and a couple of other surprises in store for you.


But today, we thought sharing how to make Chocolate Covered Stirring Spoons might make your Monday a bit more exciting.

We hope we were right...

You might have seen the original idea on pinterest, like I did. (I've found I spend most of my free time browsing these pages...). I thought they would be a great idea for the favors for our Launch Party.
 But, unlike a lot of the ideas I get on pinterest, I actually followed through with these, and I'm so glad I did.

So if you want to do it too, Here's what you need:


Plastic Spoons
Melting Chocolate
Toppings of your choosing
***Kirstin will laugh that I'm writing this on here, but I was super self-conscious about it at the party, so I want to share with you. Don't choose your toppings based on what goes well with chocolate. You'll see I chose to top some spoons with pretzels and peanuts...good in chocolate BUT NOT IN HOT CHOCOLATE OR COFFEE, gross. So learn from my mistakes so you don't get embarrassed come party time.***

Here's how to do it:

First spread out your spoons in a line on top of wax paper (for easy clean-up)
Melt your chocolate according to package directions


Using a spoon, drizzle melted chocolate onto each spoon.
My chocolate probably wasn't as smooth as it should have been, but I just tapped the bottom of each filled spoon as I went, and it smoothed out just fine.


After filling the spoons, top with whatever toppings you chose.
Again, I suggest avoiding peanuts and pretzels.

Let cool until hardened.

Then, if giving away as favors or gifts (wouldn't this be a fun Christmas present idea too?), wrap each in a baggy, and tie closed with a ribbon. You can even tie on a label if you feel like going the extra mile.

And that's it!
 Very low maintenance, and very cute--which is usually what we go for around here!

Fun, huh?


Photobucket