Showing posts with label Christmas. Show all posts

Thursday, December 22, 2011

best christmas drink ever (grandma's brandy slush)

Six years ago, our best friends brought a tupperware container full of sheer glory to our Christmas party. It was full of brandy slush (Ben's grandma's recipe) and I was immediately smitten. In fact, this brandy slush shares the top spot for my Favorite Holiday Drink (tied with my mama's wassail recipe).

I'm not kidding when I say that you should make this. Today probably. Everyone you share it with will thank you.

BRANDY SLUSH
Ingredients:
9 cups water
2 cups sugar
12 oz can limeade concentrate
12 oz can orange juice concentrate
3 cups brandy

Directions: Boil water and sugar to dissolve. Stir in oj, limeade and brandy. Cool. Freeze overnight.

Serve a scoop of brandy slush in a glass of sprite/sprite zero.

Alternately, skip the liquid add in and serve in little scoops like a granita or an Italian ice. 

Yumyumyum!

ps- Even though this is a Christmas recipe in Ben's family, when he entered it in our annual Cocktails and Mocktails drink competition (in August), it won the overall prize (that's him with the trophy). The goodness is season-blind. Like I said, sheer glory.


Sunday, December 11, 2011

Diet Coke Days: DIY Diet Coke Ornament

First, did you read my cute husband's Buffalo Chicken Dip recipe from Friday?
His passion for it is pretty adorable.

And second, It's our VERY FIRST Edition of Diet Coke Days!
(If you missed the intro, you can read it here.)

If you're here reading this column, then you or someone you know probably loves the D.C. So, if you're looking for a little something to give that person (or yourself) to add a little Diet Coke love to their holiday, we have just the thing.


Here's what you need:
a Diet Coke can (washed and dried out)
scissors (sharp enough to cut aluminum)
paper and pen to make a stencil
felt
low temperature hot glue gun
a hole punch
ribbon


Here's how to do it:
1. Cut the top and bottom off your can. BE CAREFUL! It's VERY sharp.


2. Tape the can onto the table so it's flat and won't move.


3. Make your stencil. (We chose to do a star, but I think a Christmas tree, a heart, or just a regular ornament shape would be fun too!)


4. Trace the stencil onto the can where you want it to be.
5. Cut it out. Again, being very careful.


6. Glue the can onto the felt. Cut around it, leaving a little showing on the sides so it's not so sharp.


7. Here is where I punched a hole through the can and the felt.
It was pretty hard to go through both, so you might consider punching the hole through the felt and the can separately and lining them up. If you try this way, let me know how this works for you.


8. Finally, tie the ribbon making a loop so you can hang it on a tree.


Almost takes your breath away, doesn't it?

Photobucket

Wednesday, December 7, 2011

DIY Bottle Scarves

Have you guys seen bottle scarves around during your holiday shopping? 
Let me show you what I'm talking about...


The first time I saw one was at Crate and Barrel. Too cute, right? 
And who's bottles don't need scarves around the holidays?  
But I left the store bottle-scarf-less. 
And the more I thought about it, 
the more I regretted that decision. 

So I thought about it for a bit more, and decided I would try to just make it with things we had around. And I must say, I was pretty pleased with the final result. 
So much so, that I wanted to share it with you.

If your bottles need scarves like ours did,  

here's what you need:
some kind of wool (I used old sweaters) or felt would probably work too.
a button
scissors
a needle and thread 
(don't let that needle and thread scare you. My sewing "skills" are so limited, and I made out just fine).

Here's how to do it:

 First cut your material into a 1 3/4" x 11" strip.


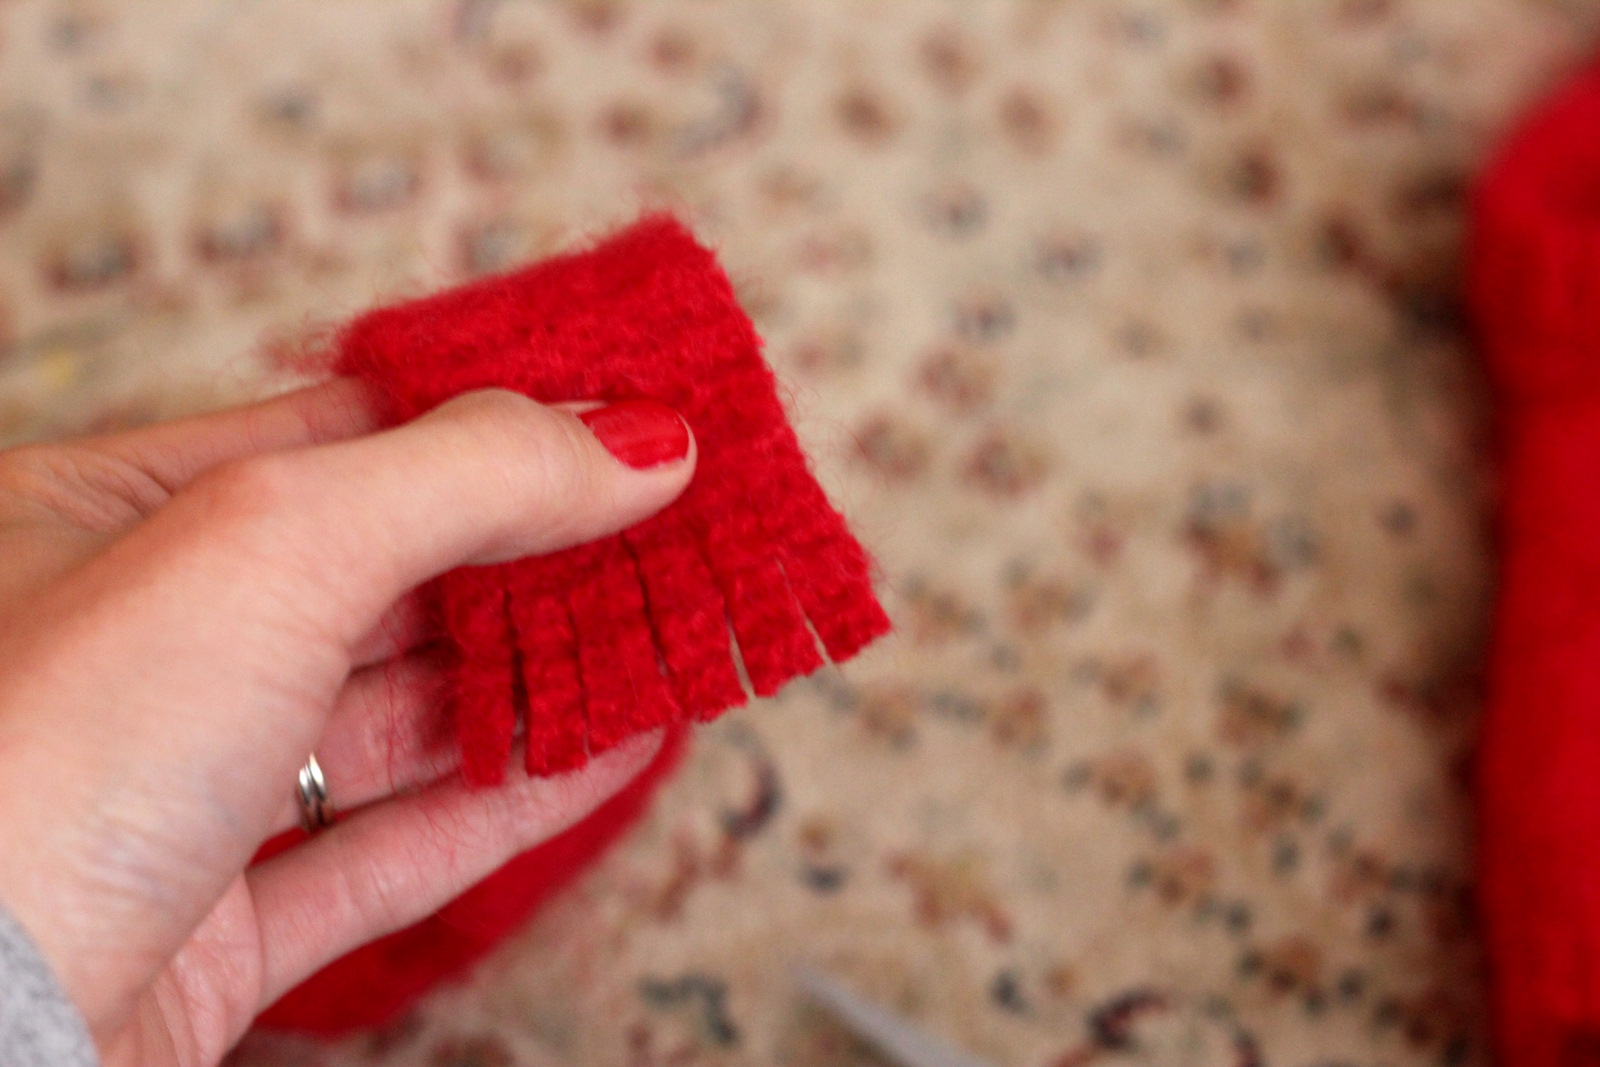
 Second, cut fringe. 
Be sure to not cut too small because you can pull a piece of fringe off really easily leaving a big hole.


 Third, wrap it around the bottle you're making it for and see where the button and button hole need to go. Mark this on the material with a pen or marker.


 Fourth, cut a slit into the fabric for the button hole (make sure it is just a bit smaller then the button, I just eye-balled it).


Fifth, sew the button onto the front of the material.


Lastly, try that baby onto the neck of it's new owner (the bottle, not you). 
Button to secure.  
Voila!

Great to adorn a bottle of wine or sparkling cider for a hostess gift, or a fun addition to a stocking stuffer (For instance, I'm sure Kirst would love to find an Izze with a scarf around it in her stocking this year--maybe she'll miss seeing it in this post?).


Now are you convinced your bottle's neck is missing something?

Photobucket